There’s nothing quite like a night ride. The cooler air, quieter roads, and the calm glow of city lights can make an evening spin downright magical. But riding after dark also means one thing becomes absolutely essential: proper lighting. Whether you’re rolling out on a ShLoC night ride, commuting home, or out early for a KETCHUP ride, the right setup keeps you visible, safe, and confident.
Our sponsors, Around The Cycle and Incycle, have all your lighting needs!
Here’s what every cyclist should know about night-ride lighting.
1. See and Be Seen: The Two Types of Lights You Need
Cyclists need two categories of lights, and both serve different purposes:
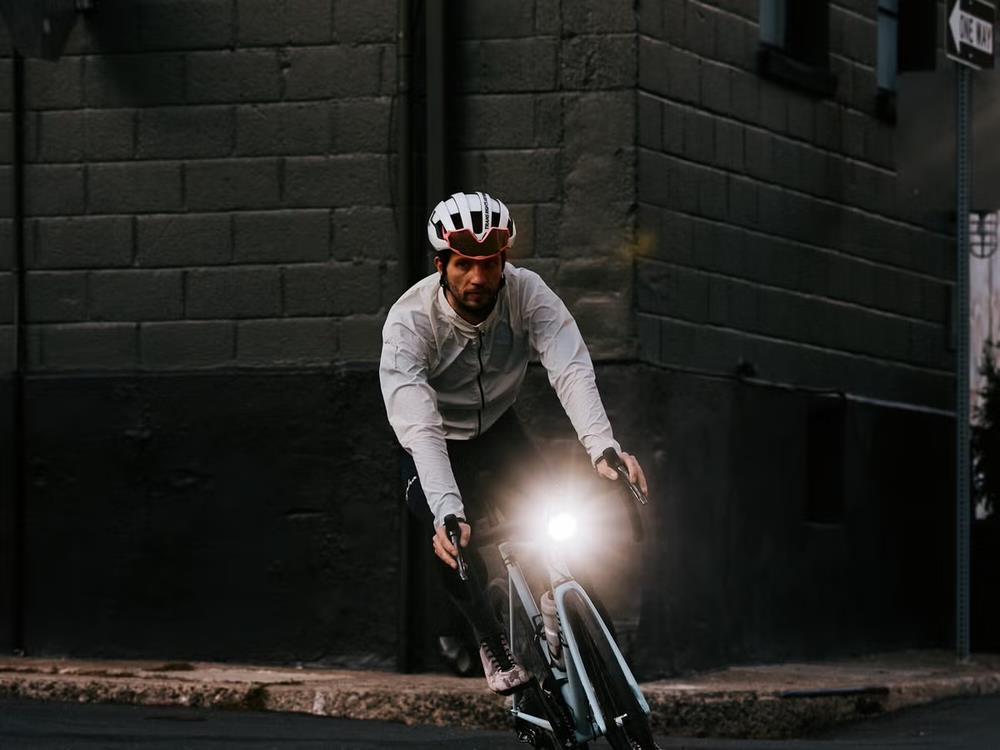
"See” Lights (Front Lights)
These illuminate your path so you can identify potholes, debris, and turns ahead.
- Look for lights with steady beams and adjustable brightness.
- For suburban or unlit roads, aim for 400–800 lumens.
- For gravel or fully dark conditions, 1,500+ lumens is even better.
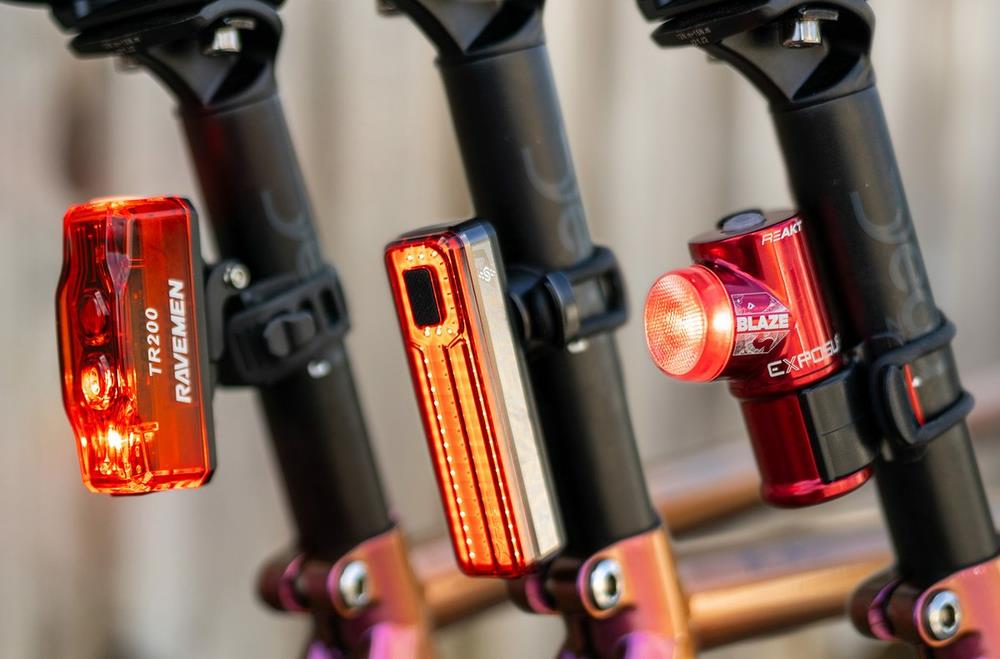
“Be Seen” Lights (Front & Rear Visibility Lights)
These alert drivers and other cyclists to your presence.
- Flash modes work well for visibility.
- Even a low-lumen front daytime flasher makes a big difference at night.
- A bright red rear light is non-negotiable.
2. Positioning Matters More Than You Think
Proper light placement can dramatically improve visibility.
- Front light should sit on your handlebar and point slightly downward so it illuminates the road—not oncoming riders.
- Rear light should be mounted high enough to be visible above the wheel and saddle bag.
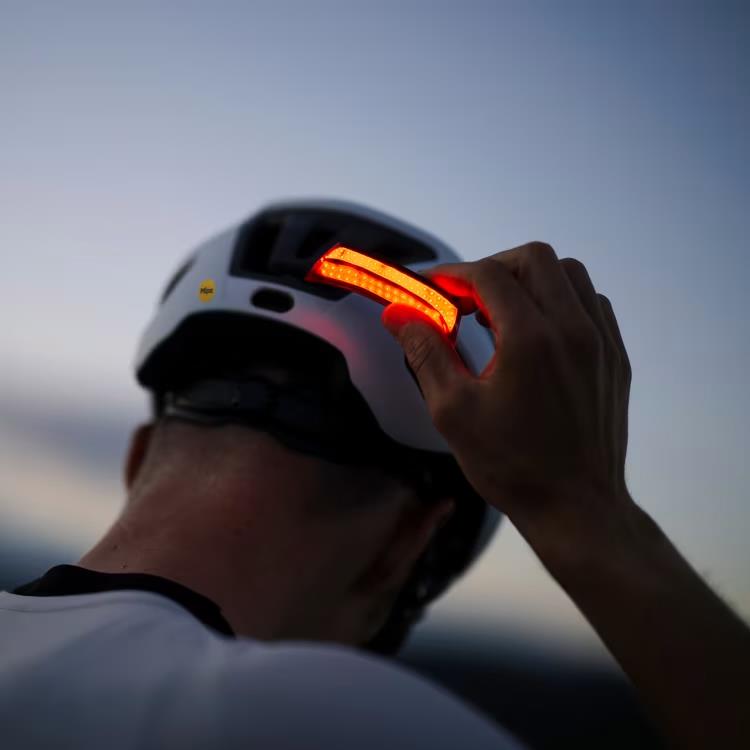
- Helmet lights are optional, but great for quickly “looking” around corners or signaling your intentions.
Pro tip: If you ride with a group, keep flashing front lights on a lower setting or steady to avoid blinding the rider ahead of you.
3. Choose the Right Beam Pattern
Not all lights shine the same way.
- Spot beams push light farther down the road—perfect for high-speed descents.
- Flood beams spread light widely, ideal for trail riding or navigating urban streets.
- Combo lights or dual-beam setups offer the best of both worlds.
4. Battery Life: Don’t Get Left in the Dark
A powerful light is useless if it dies mid-ride.
- Check the runtime estimates before buying.
- Always leave with a full charge, and consider keeping a backup rear light in your saddle bag.
- For long rides, a power bank is a lifesaver—many lights can charge while running.
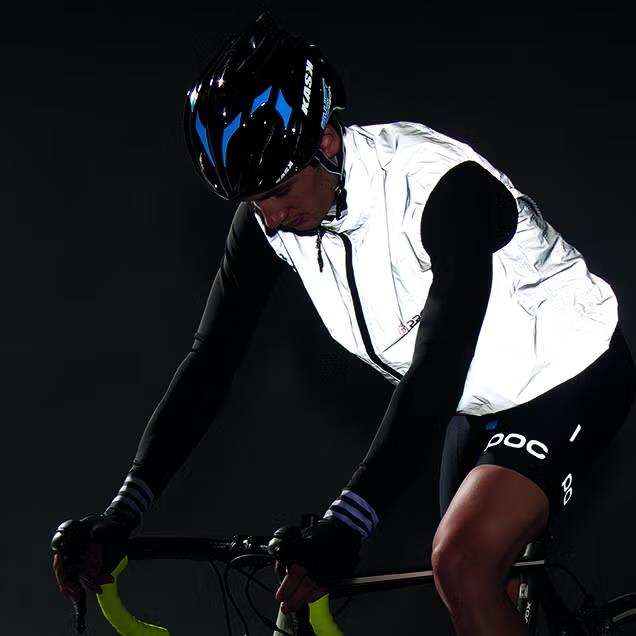
5. Reflectivity Is Your Secret Weapon
Lights are your primary visibility tool, but reflective elements give you an extra punch:
- Reflective striping on ankles and jackets creates motion that drivers notice quickly.
- A reflective vest or sash is lightweight and dramatically boosts side visibility.
6. Follow Local Laws (Even If They’re Basic)
California Law requires cyclists to have specific lighting and reflectors based on Code 21201:
- A lamp emitting a white light that, while the bicycle is in motion, illuminates the highway, sidewalk, or bikeway in front of the bicyclist and is visible from a distance of 300 feet in front and from the sides of the bicycle.
- A red reflector or a solid or flashing red light with a built-in reflector on the rear that shall be visible from a distance of 500 feet to the rear when directly in front of lawful upper beams of headlamps on a motor vehicle.
- A white or yellow reflector on each pedal, shoe, or ankle visible from the front and rear of the bicycle from a distance of 200 feet.
- A white or yellow reflector on each side forward of the center of the bicycle, and a white or red reflector on each side to the rear of the center of the bicycle, except that bicycles that are equipped with reflectorized tires on the front and the rear need not be equipped with these side reflectors.
Final Thought: A Small Investment for Big Safety
Good lighting doesn’t just help you see—it makes you predictable to everyone on the road. And that predictability is what keeps you safe. Whether you’re rolling for fitness, commuting, or just chasing stars on a quiet night, illuminating your route turns a dark ride into a great ride.